
docker-composeでMongoDBとMongoDBにブラウザからアクセスできるツールのmongo-expressを構築します。その後、dockerのコンテナ内でMongoDBを一通り操作します。
事前準備
dockerをインストールする場合は以下を参照してください。
参考:Vagrantで構築したCentOS7にDockerをインストール
docker-composeをインストールする場合は以下を参照してください。
参考:Docker Composeのインストール for CentOS7
MongoDBとmongo-expressを構築
docker-composeを使用してMongoDBとmongo-expressを構築します。
version: '3'

services:
  mongo-express:
    image: mongo-express
    ports:
      - 8081:8081
    environment:
      ME_CONFIG_BASICAUTH_USERNAME: mongoexpress
      ME_CONFIG_BASICAUTH_PASSWORD: mongoexpress
      ME_CONFIG_MONGODB_PORT: 27017
      ME_CONFIG_MONGODB_ADMINUSERNAME: root
      ME_CONFIG_MONGODB_ADMINPASSWORD: mongo
    links:
      - mongo
    networks:
      - mongo-compose-network

  mongo:
    image: mongo
    environment:
      MONGO_INITDB_ROOT_USERNAME: root
      MONGO_INITDB_ROOT_PASSWORD: mongo
    ports:
      - "27017:27017"
    volumes:
      - /home/renatogroffe/Desenvolvimento/Docker/Volumes/MongoDB:/data/db
    networks:
      - mongo-compose-network

networks:
    mongo-compose-network:
      driver: bridge
dockerを起動させる。
$ ll
-rw-rw-r-- 1 vagrant vagrant 771 Jul 13 19:44 docker-compose.yml

$ docker-compose up -d
Creating mongo-compose_mongo_1 ... done
Creating mongo-compose_mongo-express_1 ... done
mongo-expressでアクセス
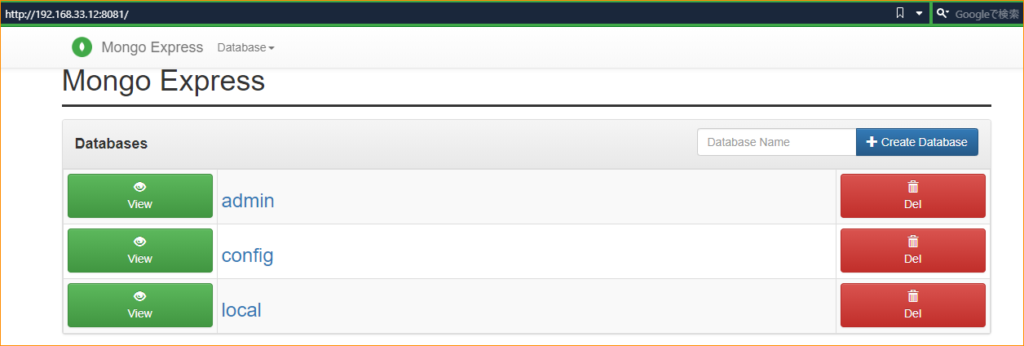
ブラウザで「サーバのアドレス:8081」にアクセスする。私の環境では「http://192.168.33.12:8081/」にアクセス
docker内のMongoDBを操作
コンテナに入る
$ docker-compose exec mongo /bin/bash
root@9ec0efe07dfe:/#
MongoDBに接続する
root@9ec0efe07dfe:/ mongo -u root
Enter password: mongo
connecting to: mongodb://127.0.0.1:27017/?compressors=disabled&gssapiServiceName=mongodb
Implicit session: session { "id" : UUID("bbdc4845-0640-4681-9c1f-42a4690da513") }
MongoDB server version: 4.2.8
---
Enable MongoDB's free cloud-based monitoring service, which will then receive and display
metrics about your deployment (disk utilization, CPU, operation statistics, etc).

The monitoring data will be available on a MongoDB website with a unique URL accessible to you
and anyone you share the URL with. MongoDB may use this information to make product
improvements and to suggest MongoDB products and deployment options to you.

To enable free monitoring, run the following command: db.enableFreeMonitoring()
To permanently disable this reminder, run the following command: db.disableFreeMonitoring()
---

>
DBとコレクションの作成
# DBの作成
> use testdb
switched to db testdb

# コレクションの作成
> db.createCollection('testcollection');
{ "ok" : 1 }
> show collections;
testcollection
ドキュメントを作成
> db.testcollection.insert({name:'testname1', pass:'testpass1'});
WriteResult({ "nInserted" : 1 })

> db.testcollection.insert({name:'testname2', pass:'testpass2'});
WriteResult({ "nInserted" : 1 })
作成したドキュメントを検索
> db.testcollection.find();
{ "_id" : ObjectId("5f0c4759e424271234bfb70c"), "name" : "testname1", "pass" : "testpass1" }
{ "_id" : ObjectId("5f0c4760e424271234bfb70d"), "name" : "testname2", "pass" : "testpass2" }
作成したドキュメントをmongo-expressで参照
mongo-expressにアクセスする。
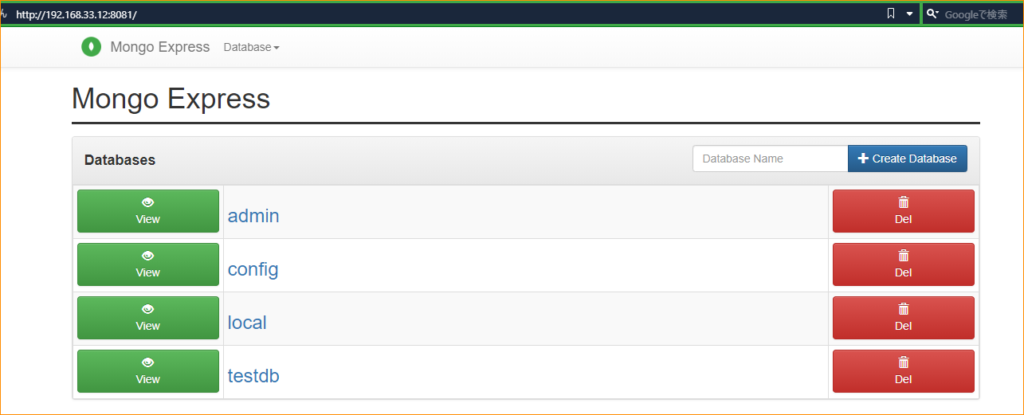
testdbを押下する
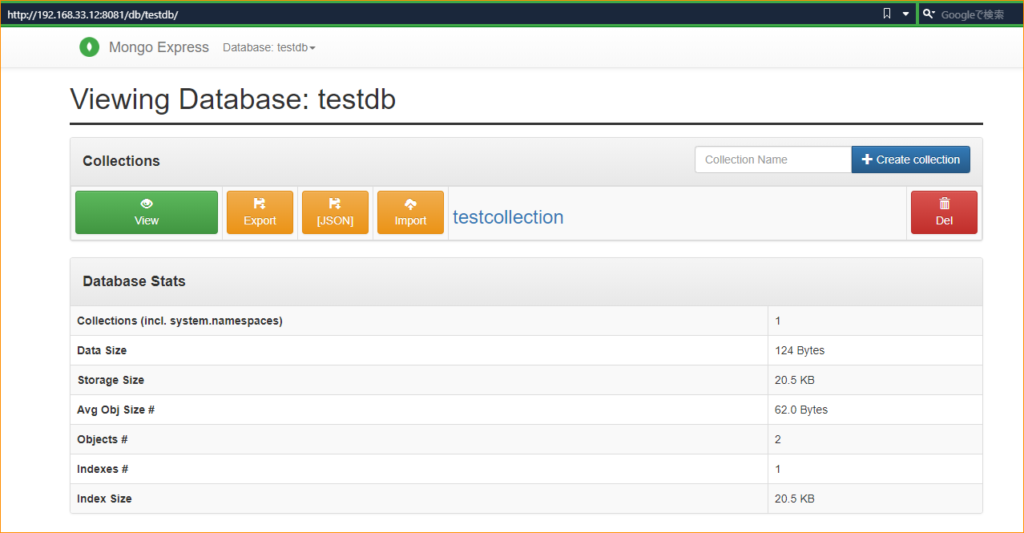
viewを押下する
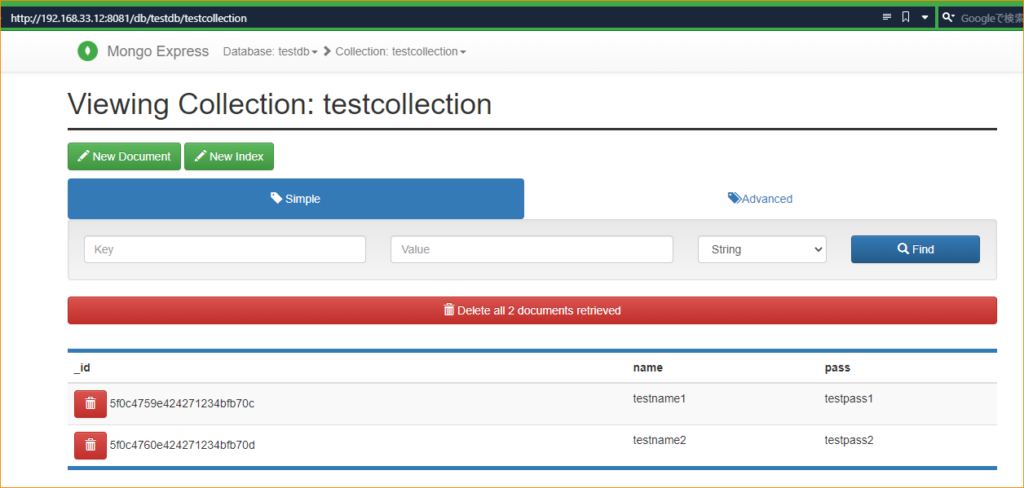
作成したドキュメントを参照することができました。

30代のWEB系企業エンジニアです。毎回同じようなことを検索してしまうので、自分の備忘録的に書いています。サイトのデザインはQiita(https://qiita.com)さんに寄せています。